
In the last section, Linking XCode with Firebase, we linked XCode with Firebase, but we weren't able to test if what we had done worked. That is what we will cover here. We will look at how to set up your Firebase project, and how to save data from the XCode app to Firebase.
I learned Firebase from Leo Trieu, from Code4StartUp. I strongly recommend his tutorial on Task Rabbit which has a fantastic step-by-step of setting up Firebase with an Angular Application. Alot of what I will show you here I learned from him!
Setting Up Firebase :
We need somewhere to save the data we want to send from XCode. Login, or Sign-up for a free account with Firebase. Once you are in the Firebase Dashboard, we will create a new project, and name it whatever you would like:
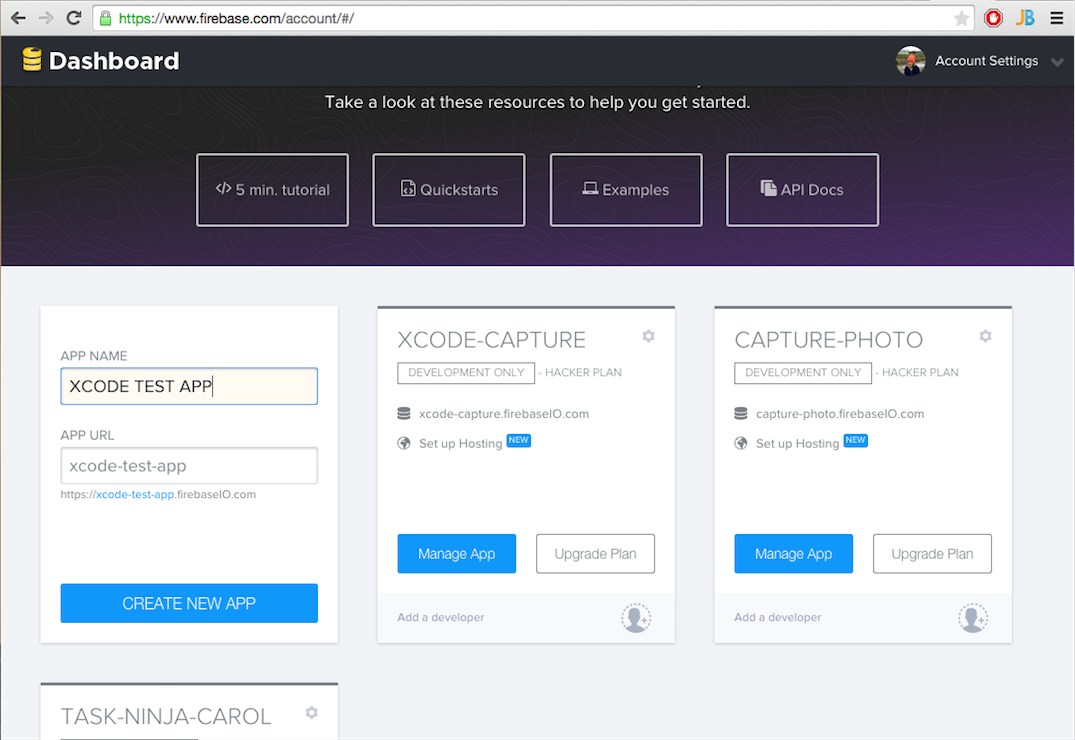
Click Create New App, and a new app will be created! Then we will click on Manage App which will bring us to our XCode-Test-App Data Dashboard.
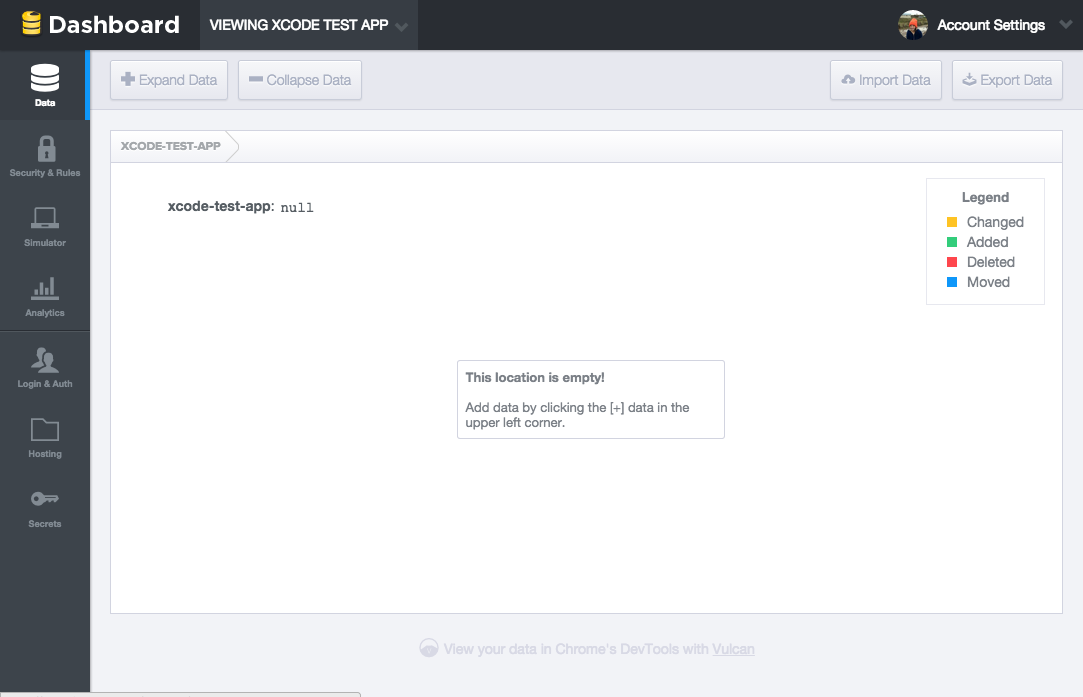
Awesome! Now that we have that created, we have a place to save our data that we will be sending from our XCode Application!
Overview of what we'll do:
As an example, let's save some data when the user moves from the first to the second tab in our application.
When we run the app (Command+r), the testApp loads the First View:
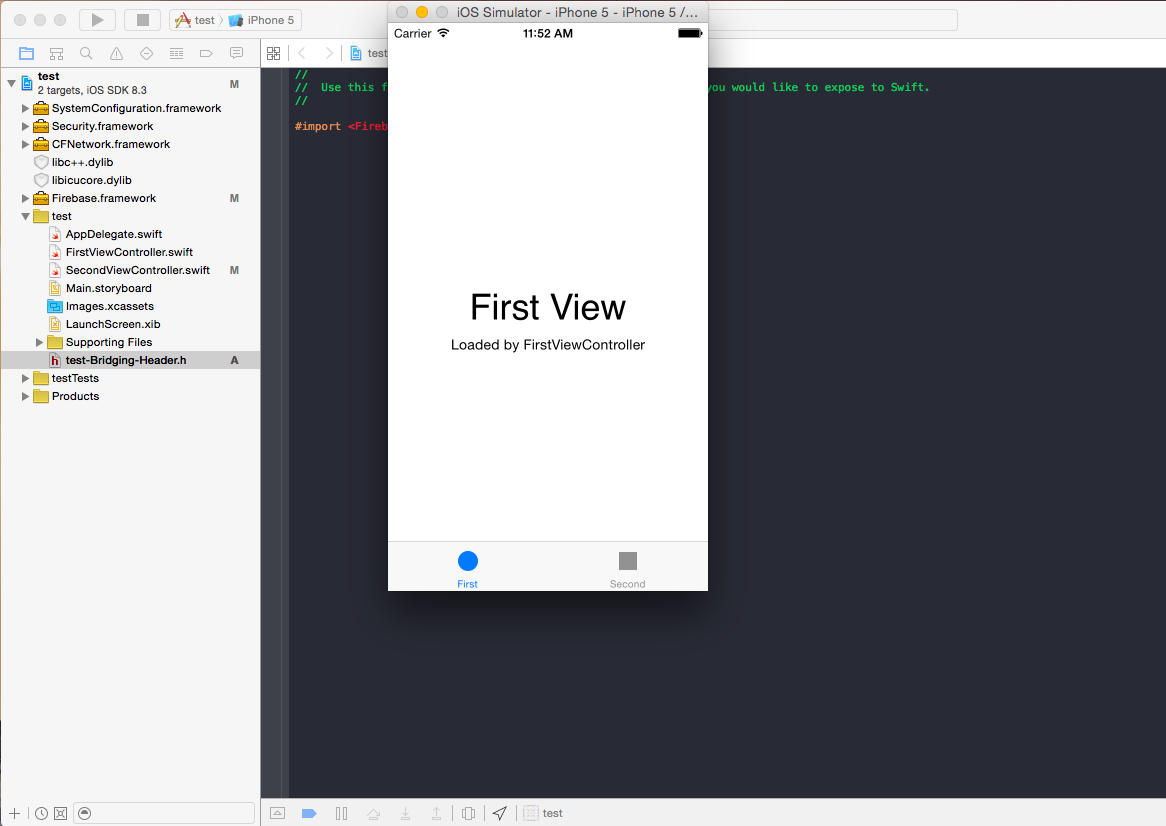
We want new data to be saved in Firebase, when the user clicks to the Second View:
Pretty cool, right? And to do this, it is not too difficult! All we'll have to do is two steps:
1) Connect our Test-App in XCode
2) Save the data when the user clicks on Second Tab
And that's it :D!
Connecting Our Test-App in XCode:
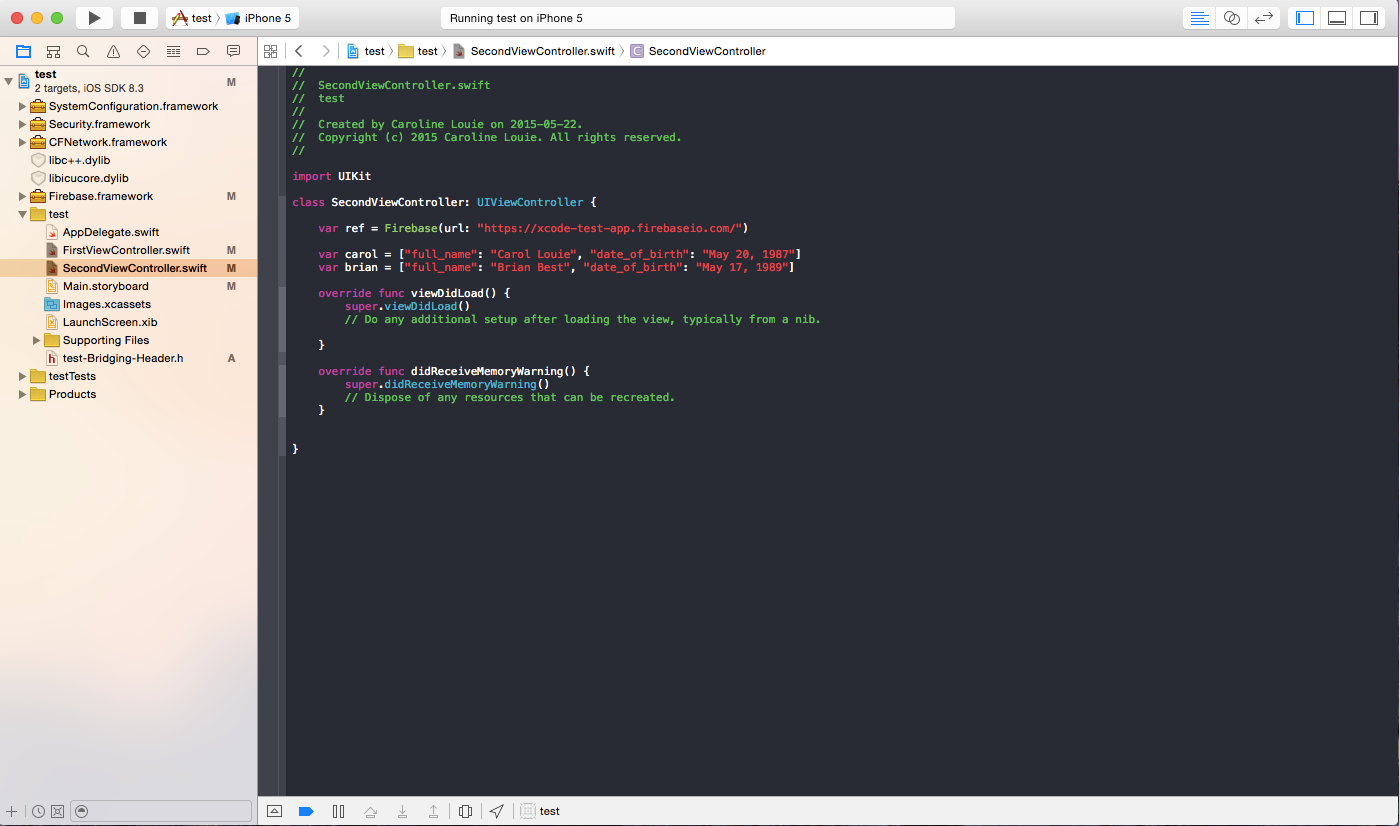
So back in our XCode Application, we need to tell it to send the data to this new Firebase Project we just created. Since we want the data to be sent when the user clicks on the Second View, we will do the coding in the SecondViewController.swift:
![]()
Inside the class SecondView Controller: UIViewController function, we will reference where we want to save the data we are sending:
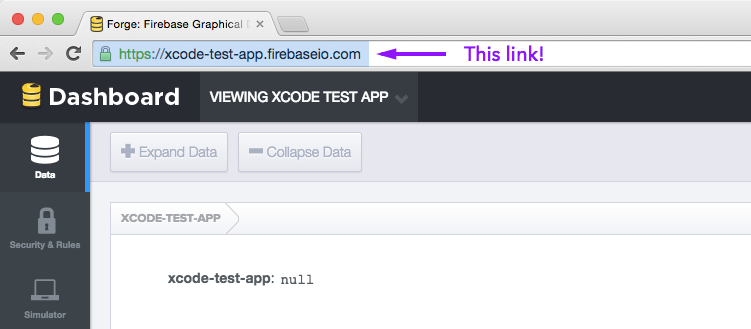
var ref = Firebase(url: "https://xcode-test-app.firebaseio.com/")
We are sending the data to the root link of our xcode-test-app project. This url will be different for you, it is the link to your project:
Great! Now we've defined where we will save our data. Let's quickly create some dummy data to send so that we can test if it works!
var carol = ["full_name": "Carol Louie", "date_of_birth": "May 20, 1987"]
var brian = ["full_name": "Brian Best", "date_of_birth": "May 17, 1989"]
So our SecondViewController.swift should now look like this:
Saving Data :
When we save data to Firebase, we create a JSON tree. So we have to think about what that tree will look like. Let's say in our dummy data, carol and brian are two users of our test app. So we would want to create a node for users that hold the names of our users and their data:

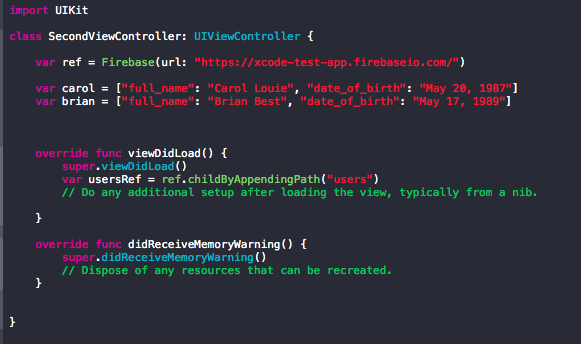
To create that we will have to append a child node and name it users:
var usersRef = ref.childByAppendingPath("users")
We'll put this code inside the viewDidLoad() function so that it happens when we load the Second View. So our code now looks like this:
Now that we've created this users node for our users to live in, we can save our user data. Firebase uses the command setValue to save new data.
First we'll need to declare users are:
var users =["carol": carol, "brian": brian]
Then we can send that to the usersRef we created:
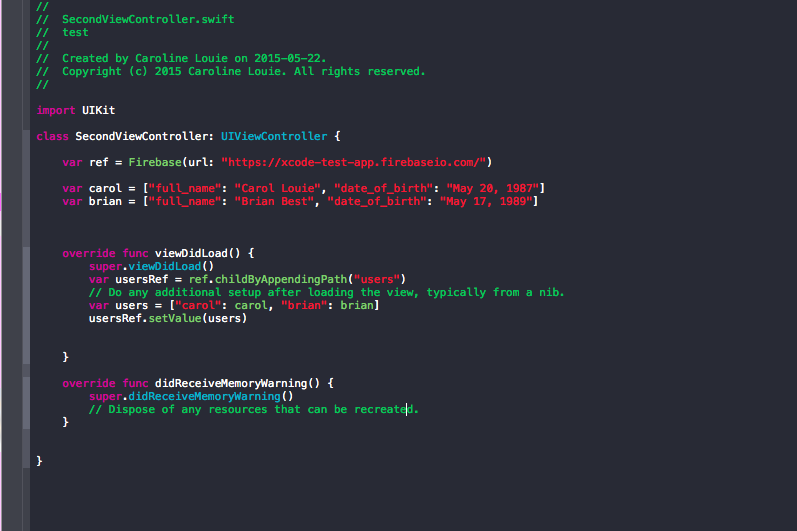
usersRef.setValue(users)
So our final SecondViewController.swift should look like this:
Now our data gets saved! Give it a test!
Cool things to keep in mind:
When we create the users variable, we are giving a name to call it ("carol"), then referencing the variable we created (carol). But we give any name, for example:
var users = ["paper": carol, "plane": brian]
Would create our JSON tree to look like:

This is cool because we will probably want to give these a unique id so that is easy to sift through them and reduce chances of error when trying to pull that data back (ie. if there are two users named carol).
It is also important to note that using setValue will overwrite the data, including any thing in the child nodes. It is good for creating a single instance but we will have to look at other methods if we want to be consistently updating our users while they are signing up! But as a demonstration of sending data to Firebase it works perfectly!
So now we know how to send data to Firebase to be saved! But this method is pretty useless. How often will you know what data you want saved before hand? So in the next blog post, we will look into saving data that the user inputs themselves (like their name and their birthday).
comments powered by Disqus