 Over the last 3 weeks I've been working with a great tutorial and book on design that focuses on building on Swift in XCode. I strongly recommend this book: Design+Code by Meng To for anyone interested in design, swift or wireframing.
In this book, Meng To, details how to recreate the Designer New App, introducing how to manipulate the Storyboard, use Spring Animations and code in Swift. Meng covers how to make API calls to the Designer News Database which was tricky but very interesting. Last month at UIT, we were introduced to Firebase, a service that deals with the backend database of a web or mobile app in real-time.
During this week, I decided to link up these two amazing applications, so that I can build a native app using my own realtime data in Firebase.
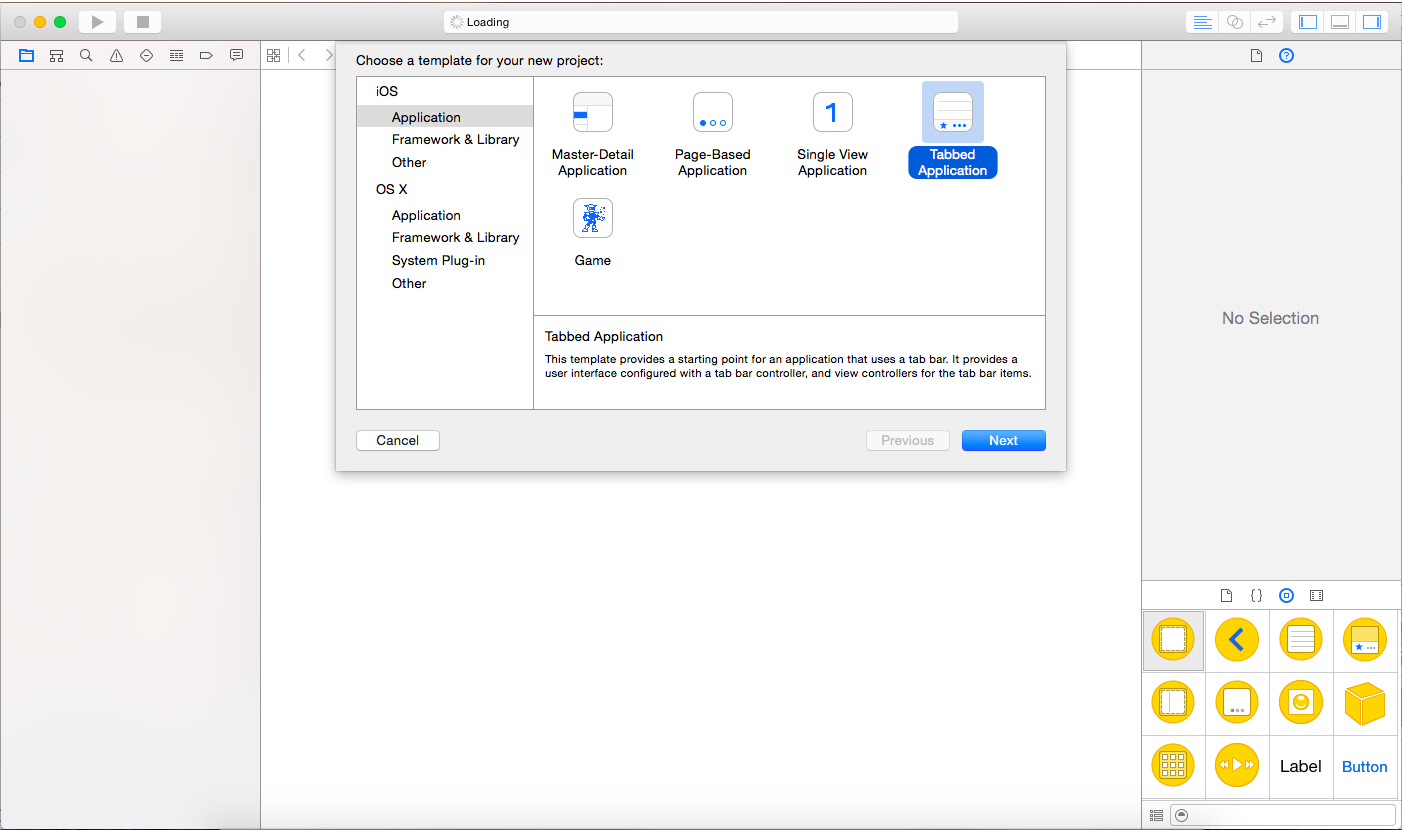
Since I will be making a mobile app, I decided to create a Tabbed Application.
Setting Up Firebase with Xcode:
Adding Firebase to Xcode was pretty simple and is detailed well on the Firebase website. However, there were some tricky steps, and there are no pictures in the Firebase Guide to setting up with Xcode, so I thought I would do that now.
First you will need to signup for a free account on Firebase and Download SDK.
Note ~ Firebase suggests downloading the templates for easy set up, don't. They are not compatible with new versions of XCode and it is only confusing and time consuming.
Manual Install of SDK:
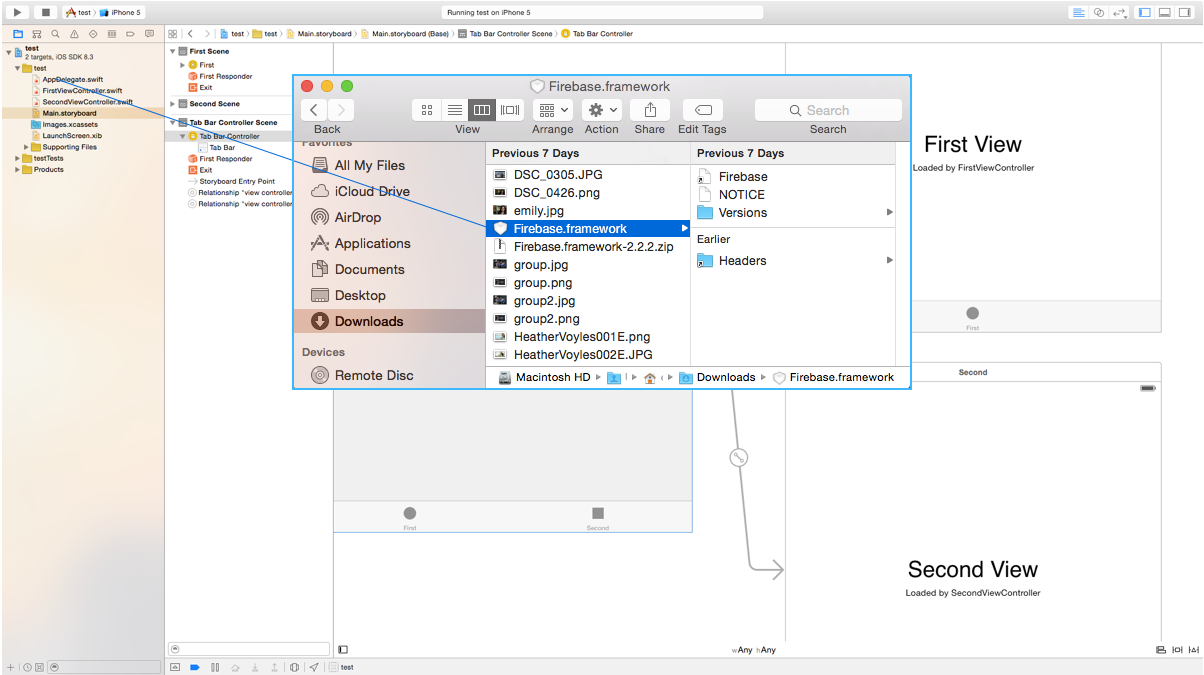
Once you have downloaded Firebase SDK, unzip it and drag and drop the Firebase.framework into your XCode Project.
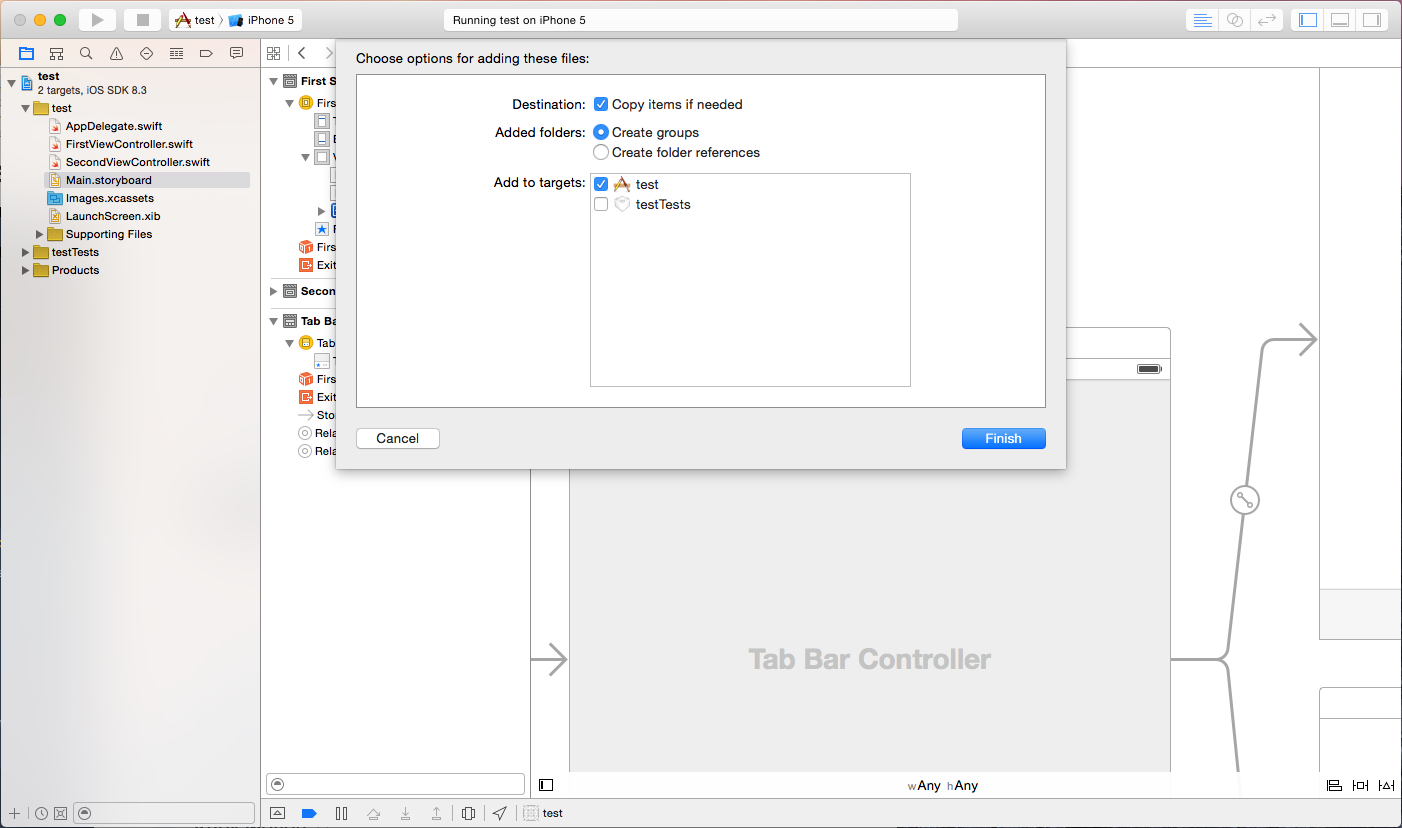
A popup will appear, make sure to check off that you want to Copy items if needed and to Create groups
Other Dependencies:
Firebase depends on a number of other frameworks:
libicucore.dylib
libc++.dylib
CFNetwork.framework
Security.framework
SystemConfigureation.frame
I found this part a little tricky, it was unclear to me how to include these frameworks. I thought I was suppose to download these frameworks like I did with Firebase, but these dependencies can be included from within XCode. So on the far left side, there is a list of everything in our project. If we click on our whole project (mine is called test), it will take us to the Settings of our Xcode project.
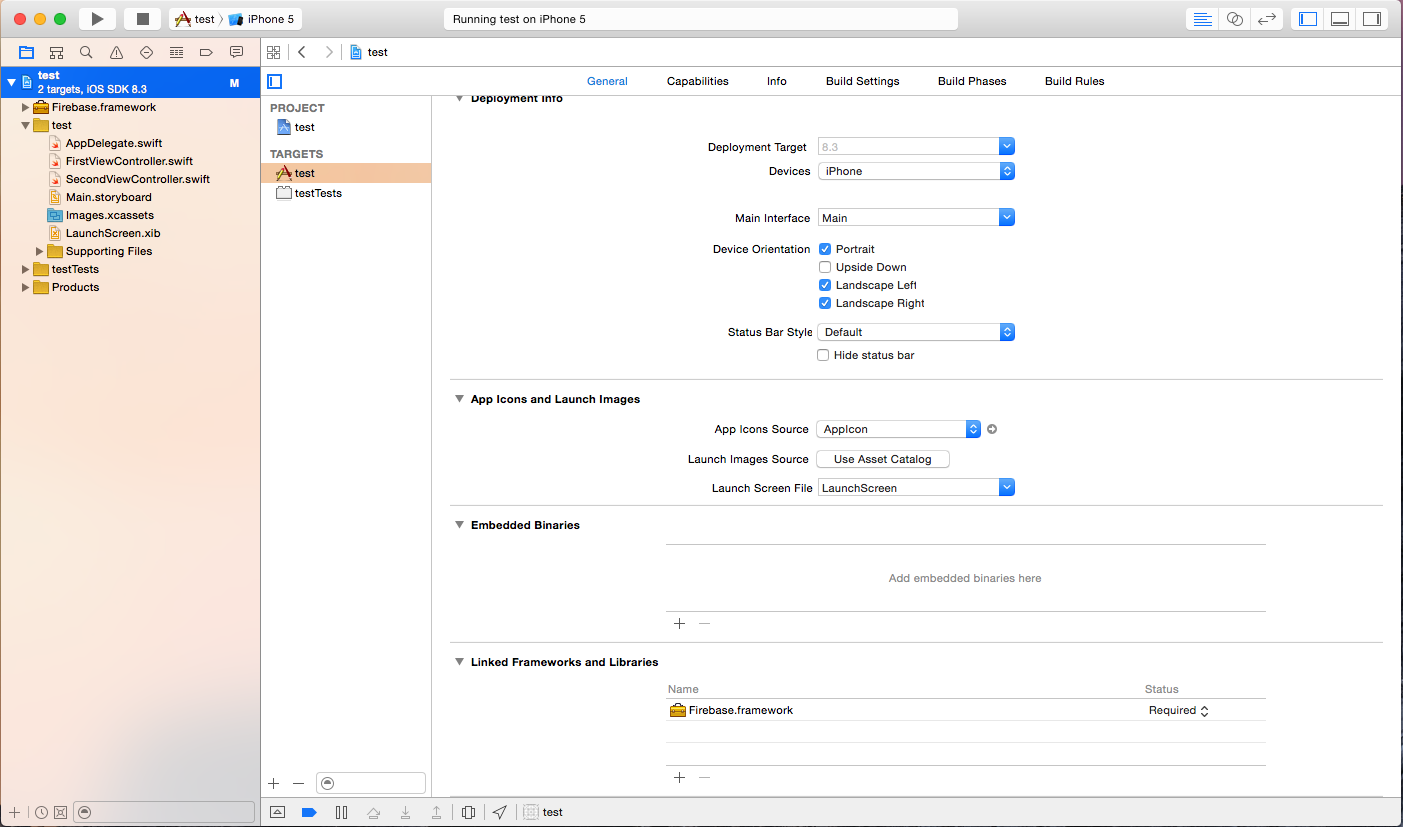
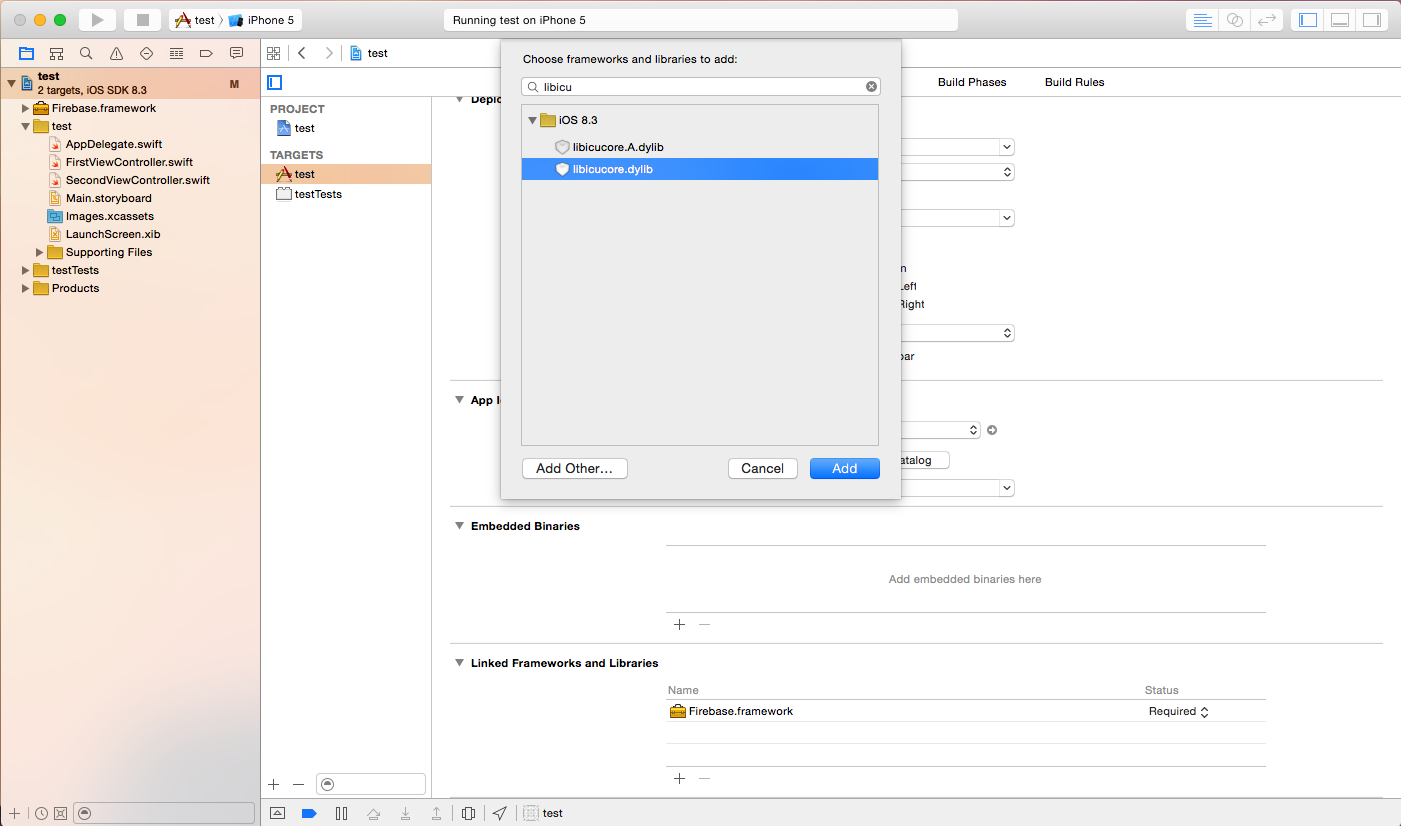
At the bottom of the screen we can see Linked Frameworks and Libraries. Click on the plus (+) sign in, and then we can search and add the 5 necessary dependencies:
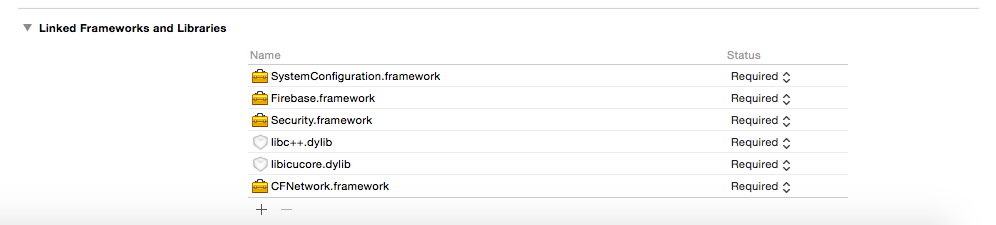
So the Linked Frameworks and Librarys should now look like:
Classes & Categories:
Along the top of our Project in our Settings there are a number of tabs, we are currently in General, let's move to Build Settings. Firebase makes use of Objective-C classes and categories, so we have to add it into our "Other Linker Flag":
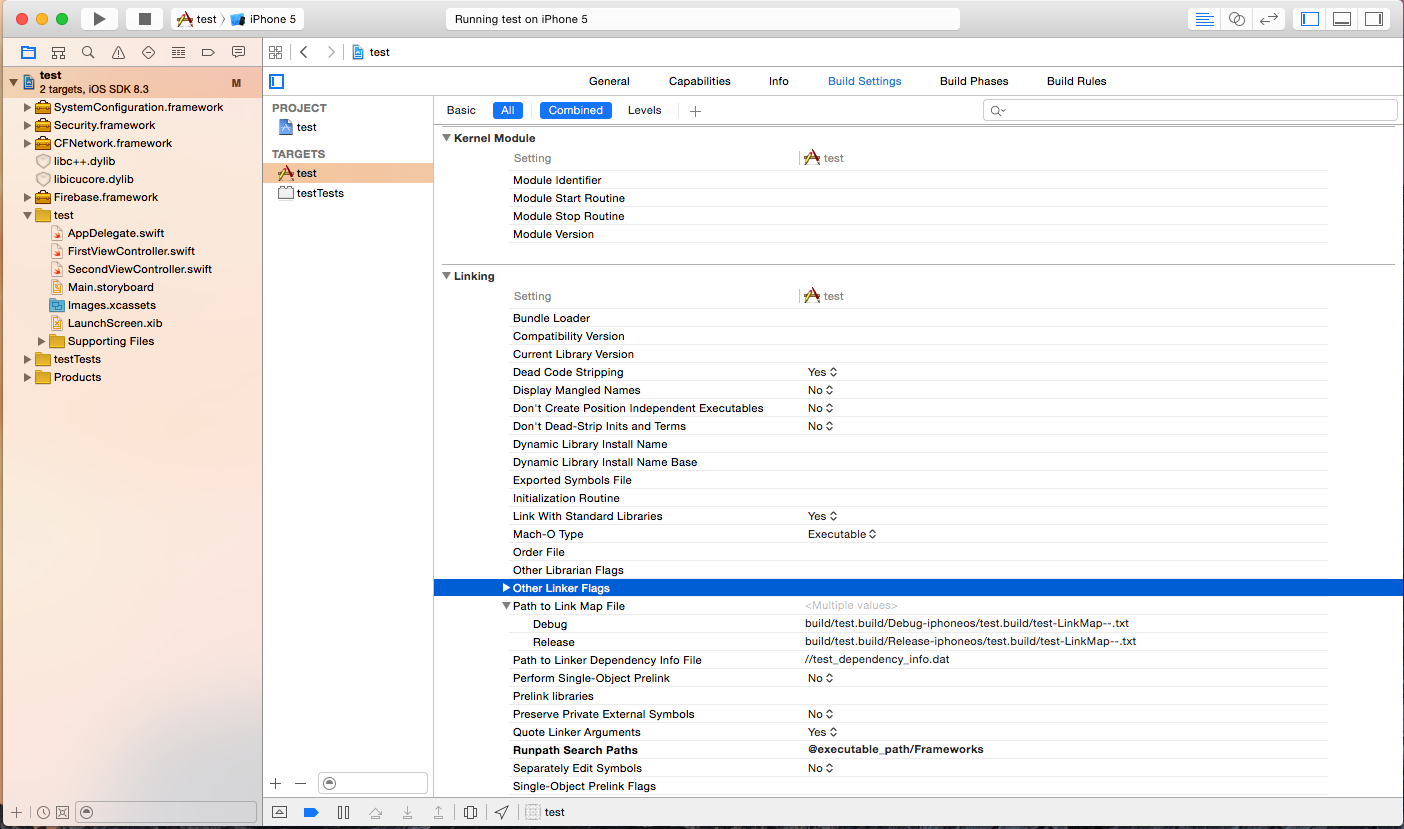
Open the contents of Other Linker Flags by clicking on the arrow. Hover beside Debug until you see a plus sign, click on it and type:
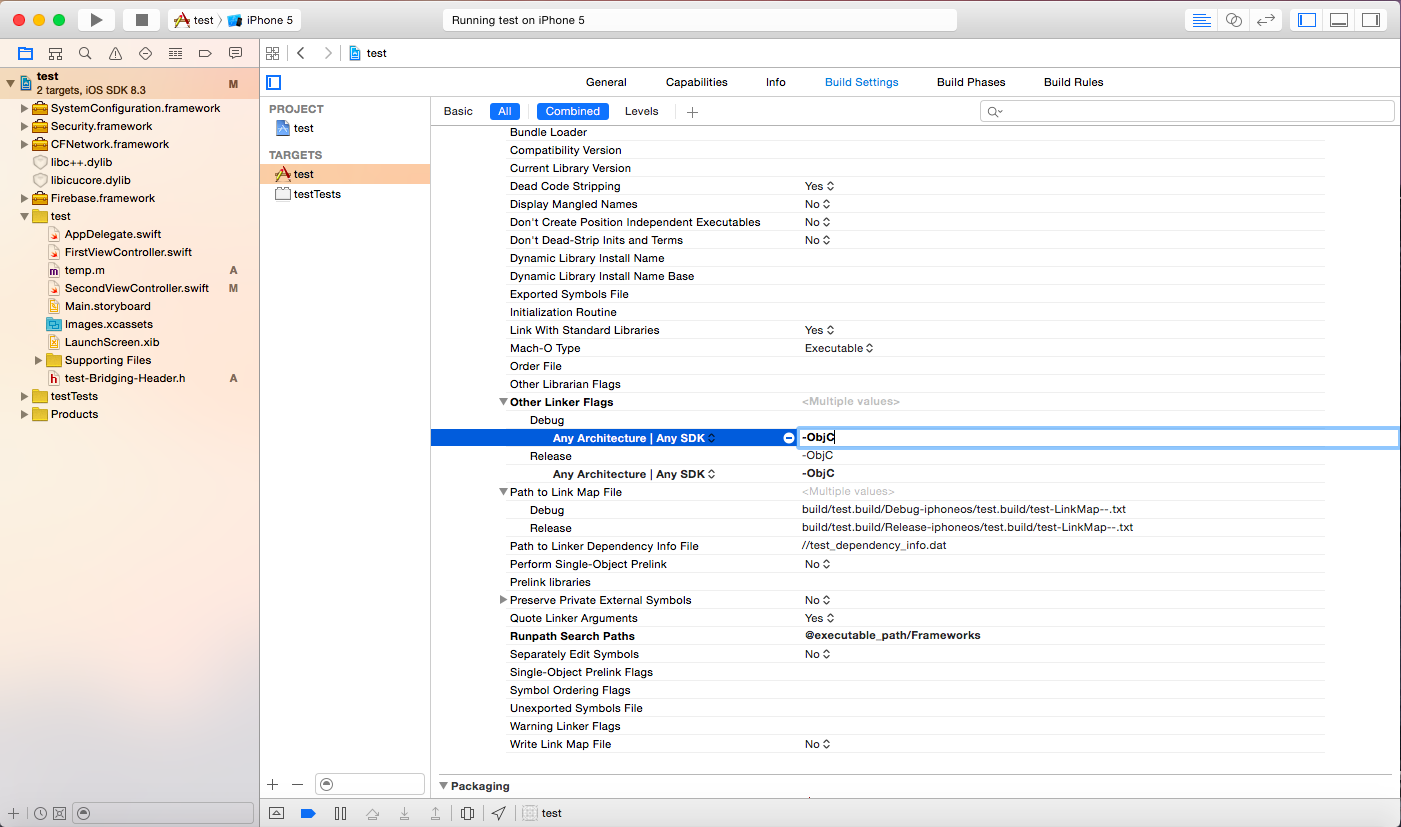
-ObjC
Do the same for Release:
Creating the Bridging Header:
Since Firebase uses Objective-C, we'll have to create a bridging header to make it work well with Swift. This was a little strange to do, but it's not difficult.
First we'll create an new File by right clicking on AppDelegate.swift and selecting New File.
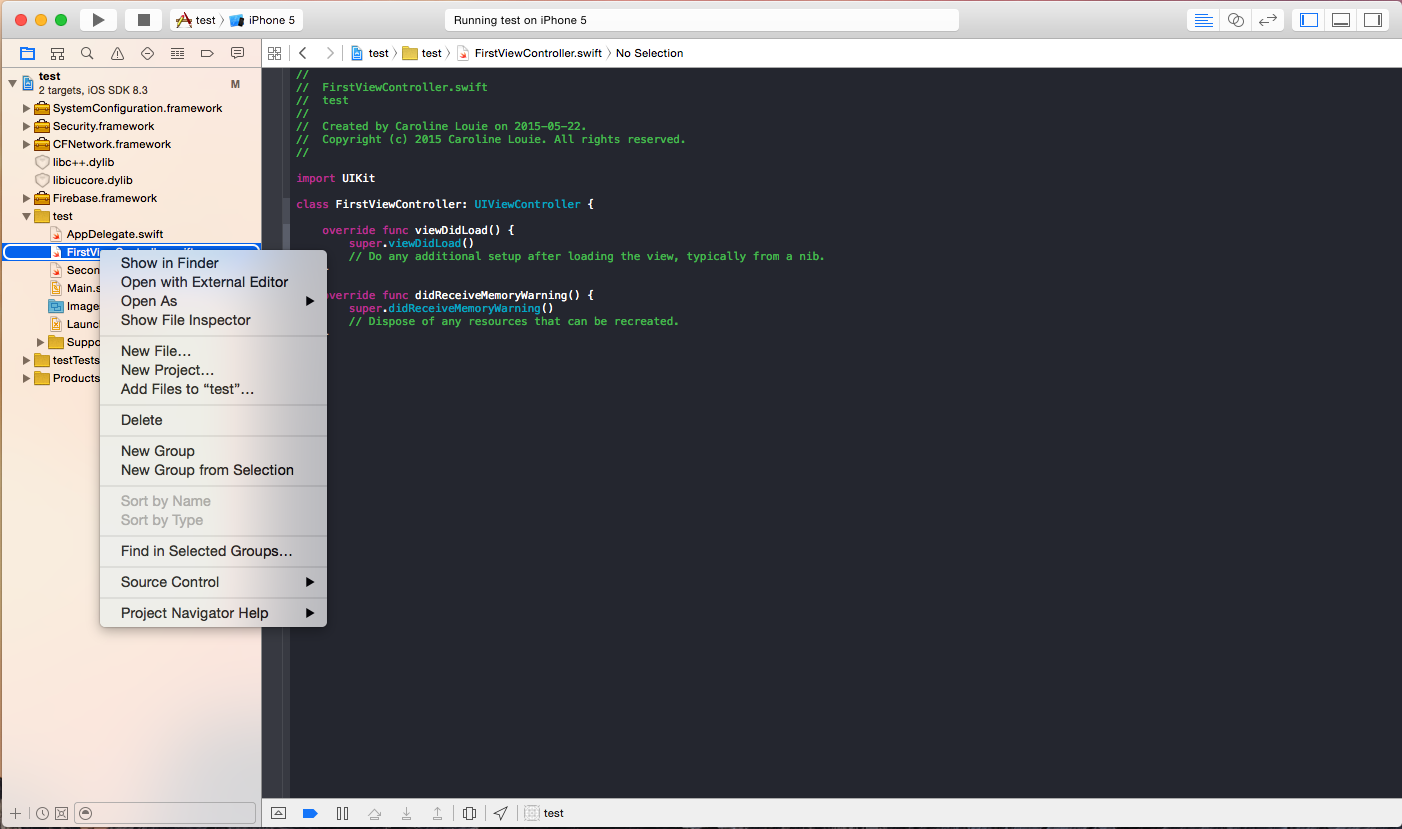
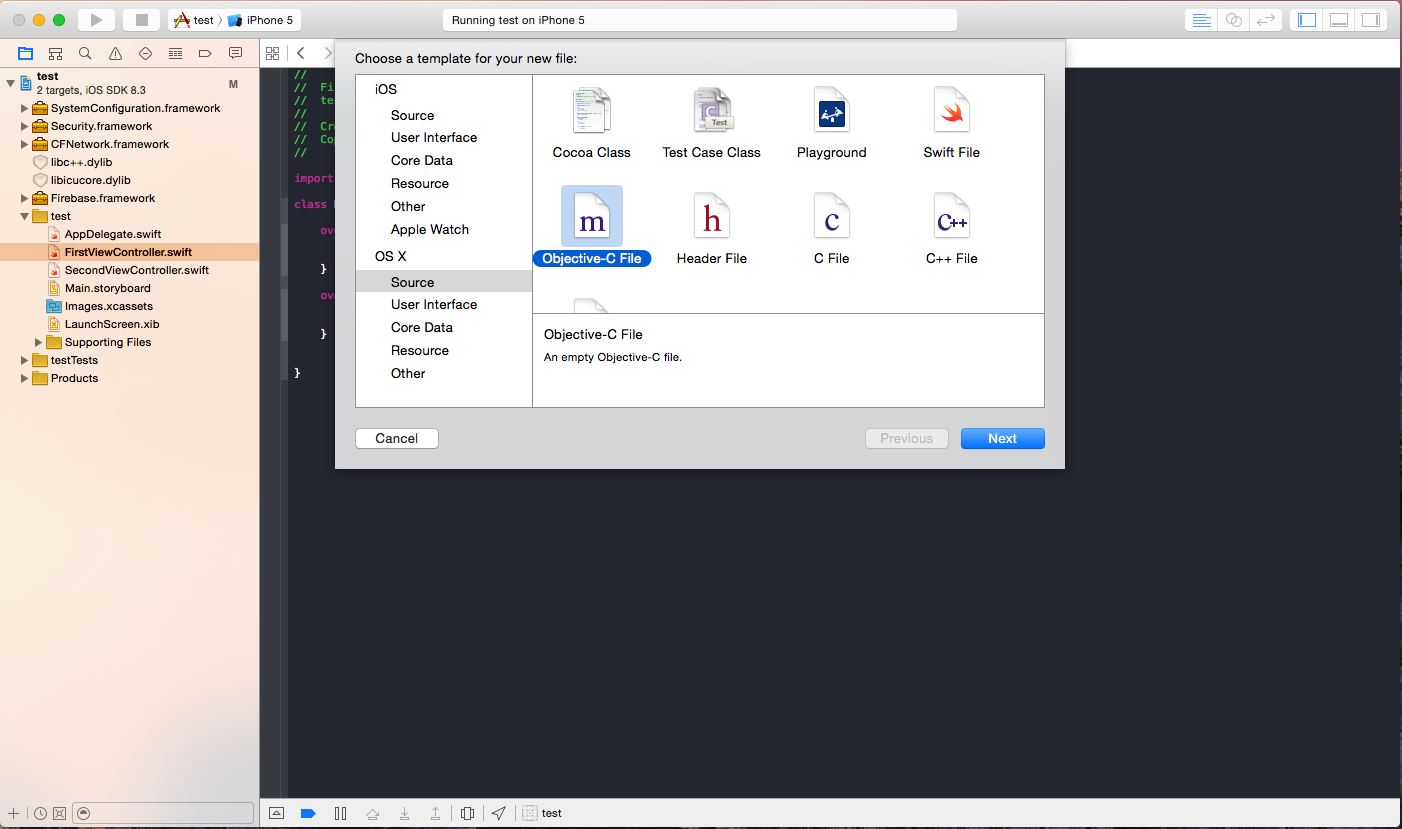
We'll create an Objective-C File, click next.
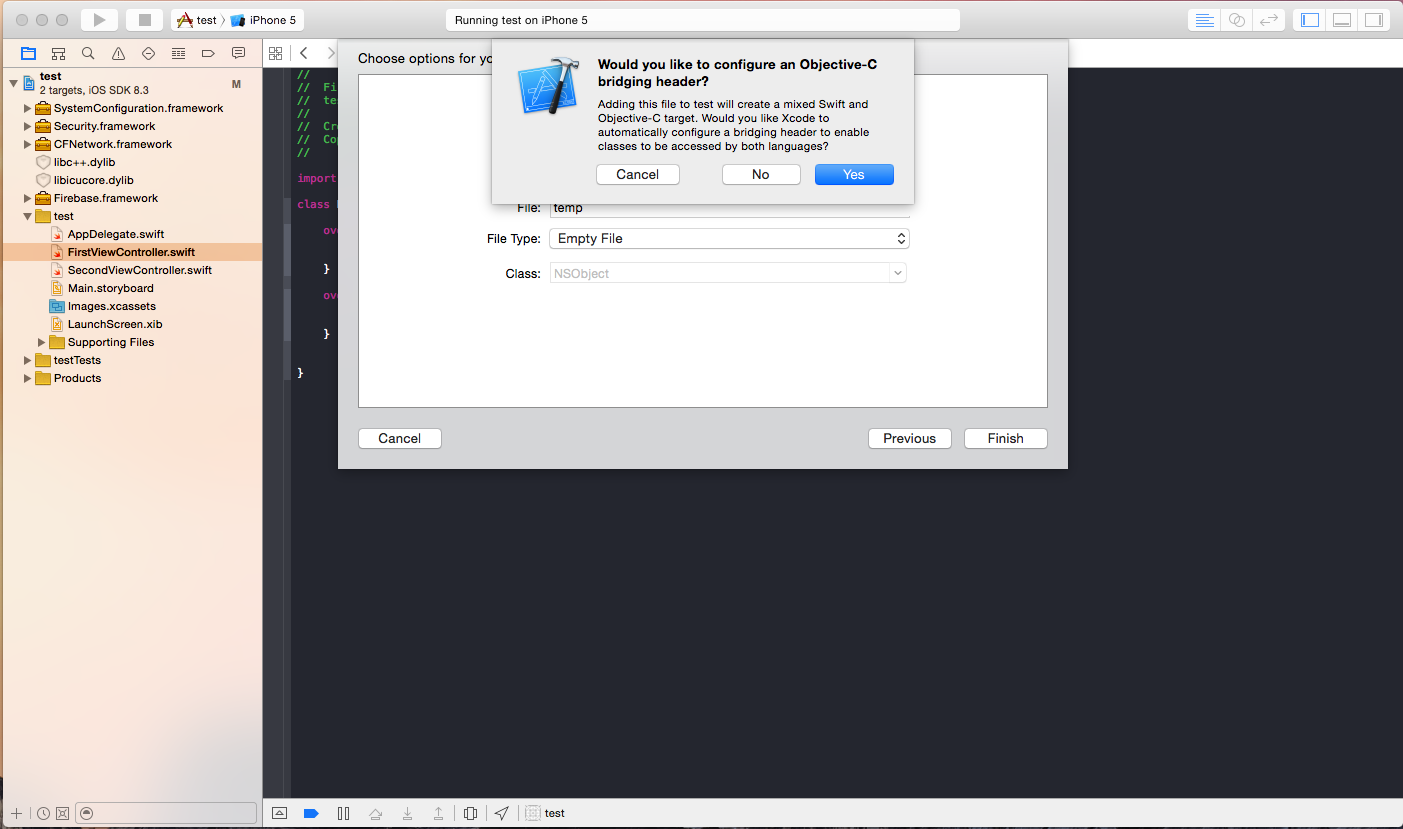
Name it temp. File Type: Empty File. Click create. Then a popup will appear asking if you would like to configure an Objective-C bridging header. Click Yes!
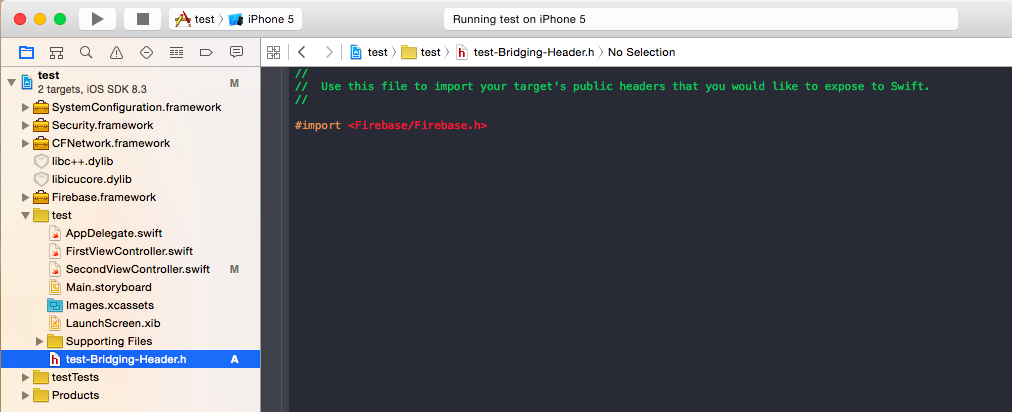
This will create a bridging header file! Inside the header file, we'll import Firebase here.
#import <Firebase/Firebase.h>
Now Firebase is connected and we can start sending and recieving data!
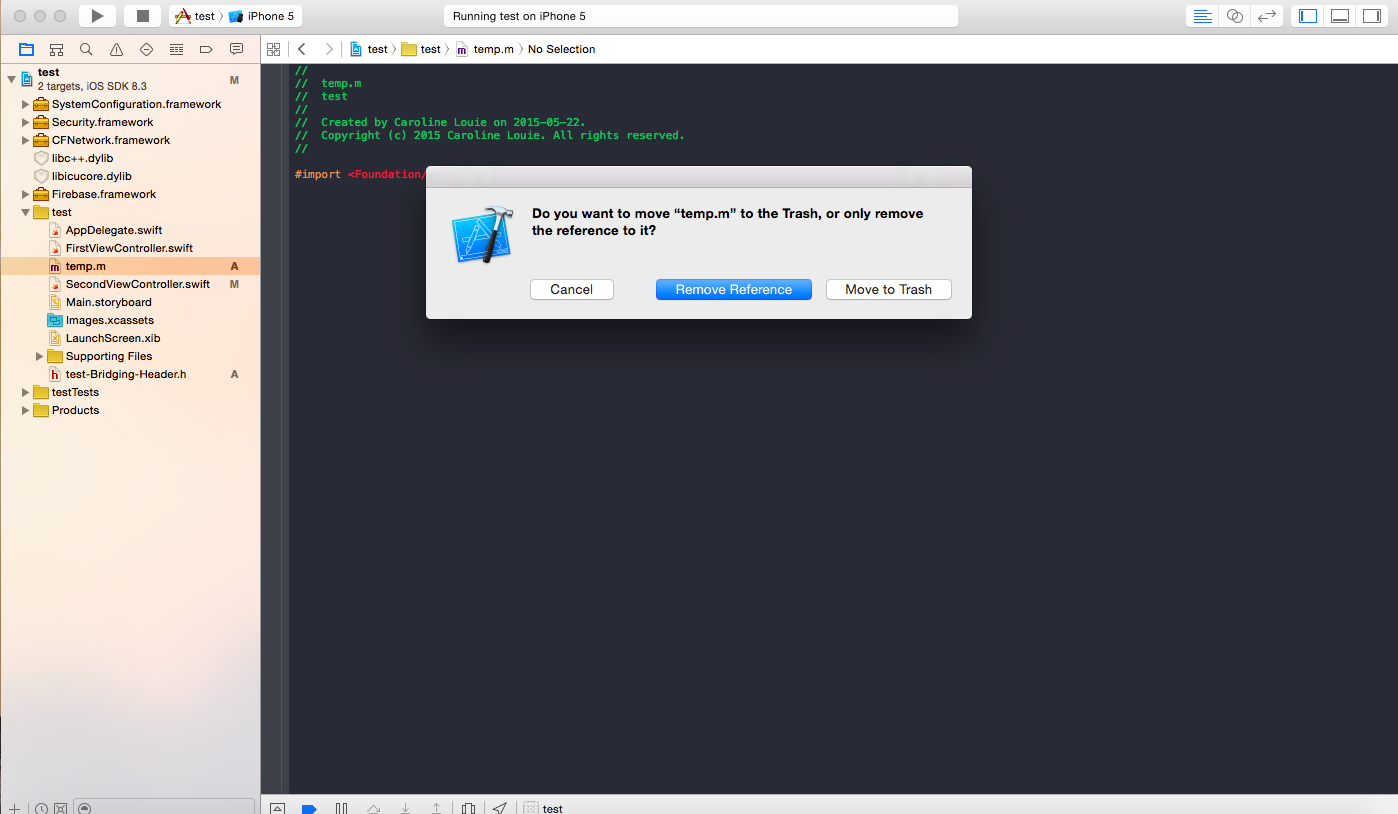
The final thing we can do is delete the temp Objective-C file, as we only needed it for the bridging. Just right click > Delete. Make sure to say delete Move to Trash. This will delete from our our project folder!
Great! Firebase is now linked to XCode! In the next section, Linking XCode with Firebase Part 2, we'll look at how to save data to Firebase from our XCode App.
comments powered by Disqus